How to Customize Sendent for Outlook Using Theming (Windows Only)
Theming makes it possible to easily customize the look and feel of your instance and supported clients. Theming is primarily applicable to the VSTO Sendent plugin for the Windows platform through the Nextcloud Theming app. For cross-platform use, theming is limited to HTML snippets.
With a licensed version of Sendent for Outlook (Professional, Premium or Plus), you have the option to use a custom-branded version of the add-in rather than the default Sendent-branded version. You can control the settings for this customization from your Nextcloud settings.
Prerequisites
- Ensure that the Sendent server app is installed in your Nextcloud instance. You can find and install it from the NextCloud Store by following the instructions in this guide.
- Obtain a valid Sendent license key. Visit our website to explore your licensing options.
- You also need to have the Theming app installed.
Open the Theming App.
1. Navigate to your Nextcloud settings and open the Theming app.
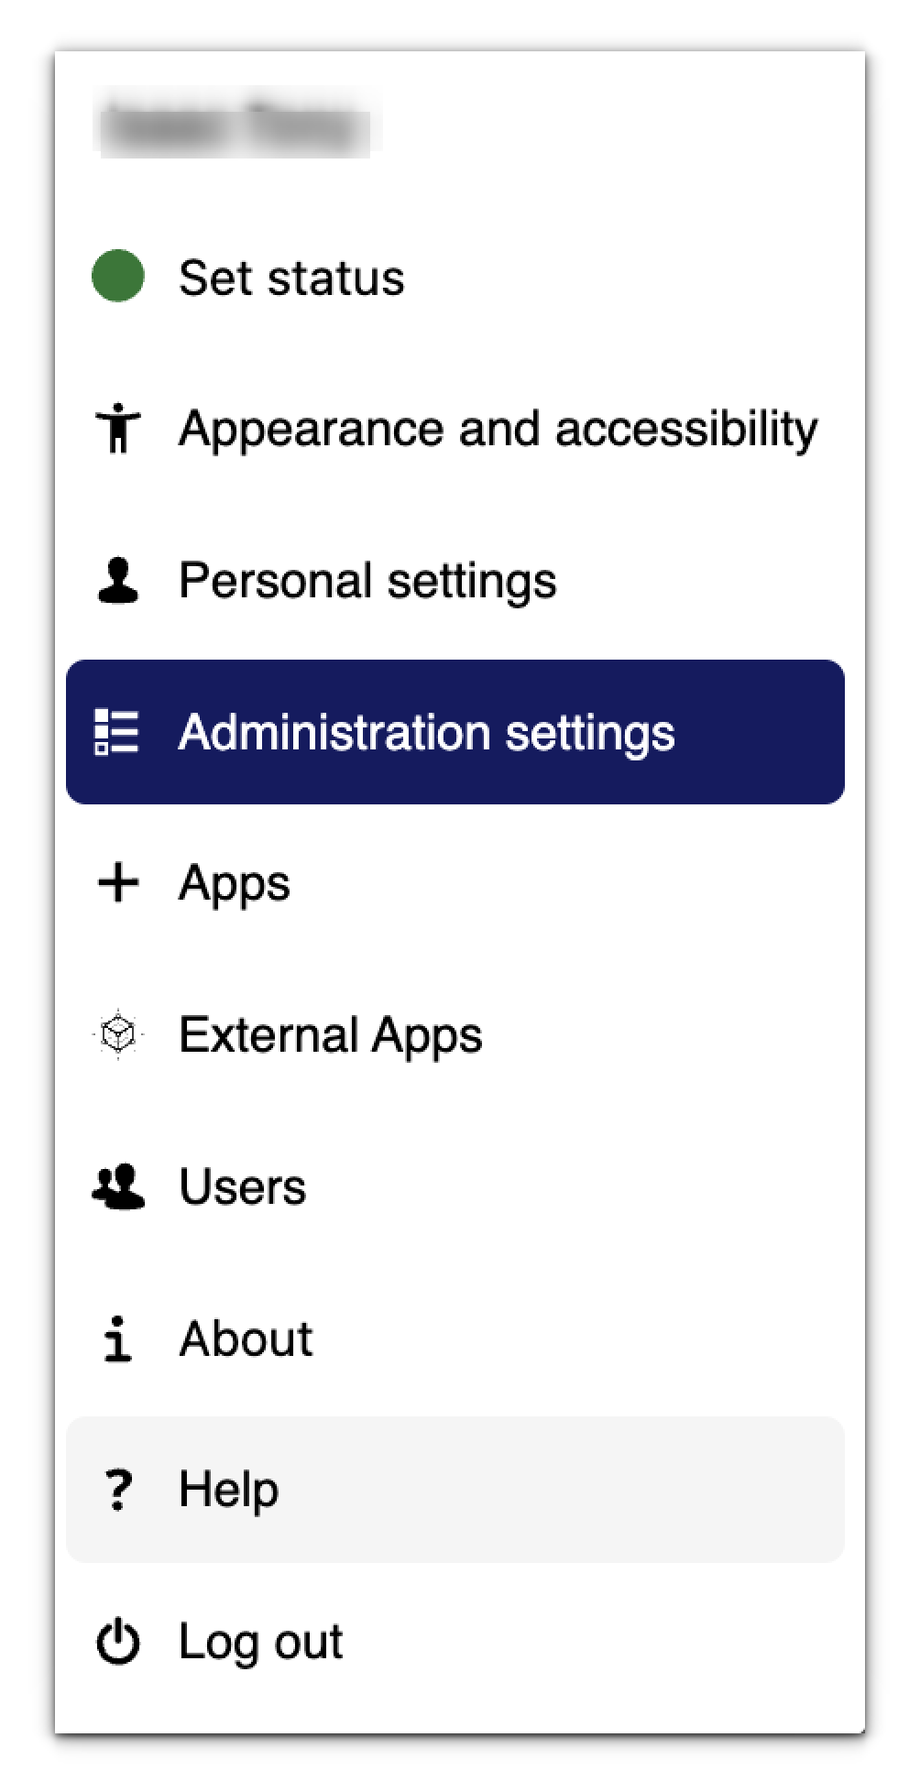
2. Click on your user avatar or name in the top right corner of the Nextcloud interface and then click on the "Administration Settings" option.
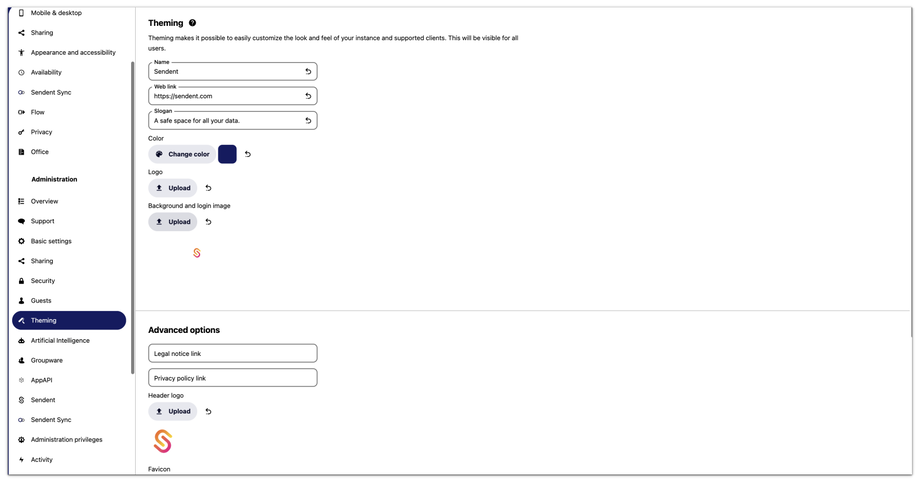
3. Click the Theming option from the sidebar menu.
Basic Theming
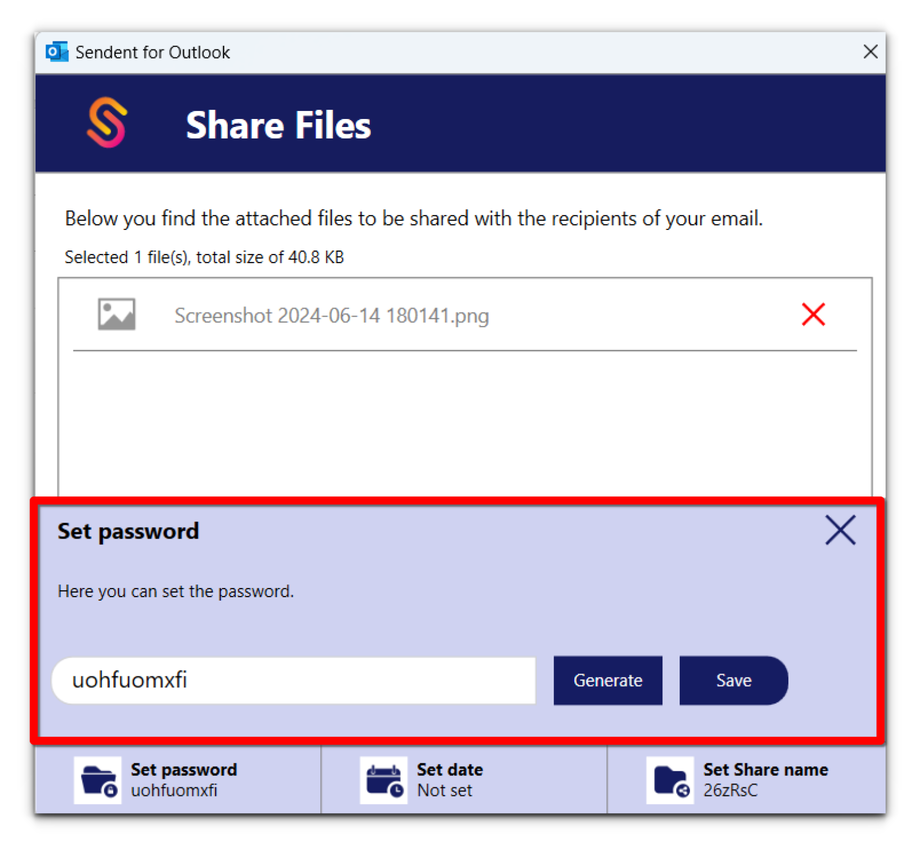
With basic theming, you can easily change the colors and other design elements of the Sendent interface, giving it a professional and polished look.
On this page, you can customize the look and feel of your Sendent instance according to your organization's corporate design by replacing the default logo and color with your own assets.
For instance, you can customize:
Name
This value will be displayed in various dialogs within the Sendent interface. For instance, when you intend to share files from your Nextcloud server.
Slogan
Enter a tagline or slogan that represents your organization.
Color
The specified color will be applied to all Sendent dialogs.
Logo
The logo will be displayed in the header of all Sendent dialogs.
Background and Login Image
Upload an image to be used as the background or login screen image.
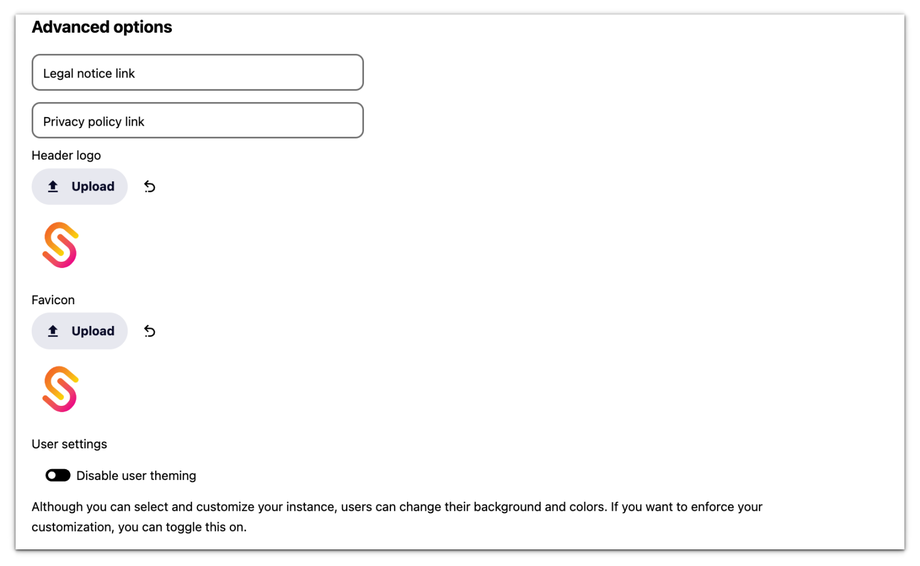
In addition to the basic customization options, the advanced settings provide further control over the appearance and functionality of your instance. Here are the features available:
Legal Notice Link
Allows you to add a URL for the legal notice, which users can access for legal information regarding the service.
Privacy Policy Link
Allows you to provide a link to your privacy policy, ensuring users can easily find information on how their data is handled.
Header Logo
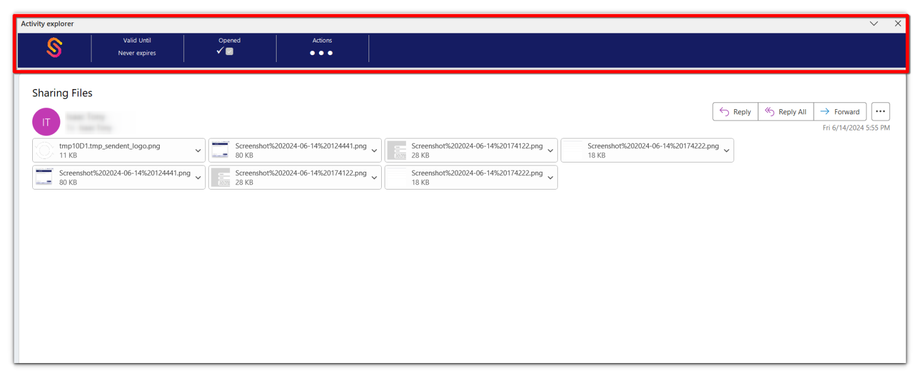
This logo will appear in the Task Pane for Secure Mail and the activity tracker.
Favicon
Upload a favicon that will appear in the browser tab, ensuring your brand is visible even in the smallest details.
Disable User Theming
Toggle this option to prevent users from changing the background and colors. This ensures that the customization enforced by the administrator remains consistent across the Sendent interface.
Advanced Theming (Premium Plan or Plus Plan Required)
With the Server App, administrators can enable Advanced Theming to customize additional color settings for the Outlook Add-in.
To access the Advanced theming settings, you need to navigate to the Sendent Server App settings by:
1. Click on your profile icon and click on "Administration Settings".
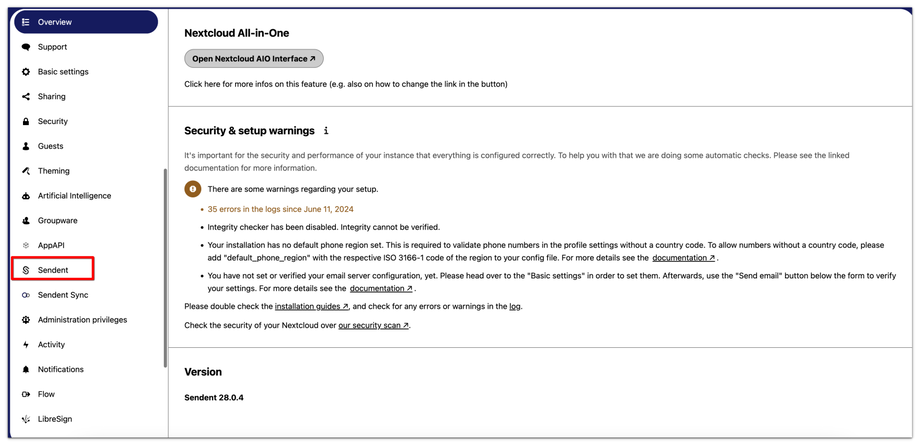
2. Click the Sendent option from the sidebar menu.
3. Switch to the Group Settings tab
4. Navigate to the group settings section and switch to the Sendent for Outlook settings.
5. Navigate down to the Theming section.
6. In this section, you can customize the color settings for your Outlook Add-in.
7. You need to have Advance theming enabled to access the settings below:
Setting Colors
Primary Button: Customizing the colour settings that contain the prefix "Button primary" will change the appearance of the right-hand button in the File Share, Public Share, Settings, and Guest Accounts dialogues.
Secondary Button: The appearance of the left-hand button in the File Share and Public Share dialogues can be changed by customizing the colour settings containing the prefix "Button secondary".
Dialogue Footer: If you customize the colour settings that contain the prefix "Dialog - footer", the footer's appearance will change in the File Share and Public Share dialogues.
Dialog Header: Customize the "Dialog - header" colour settings to alter the header appearance in dialogues.
Popup Panel: Customize the "Popup" colour settings to alter the appearance of the popup panel.
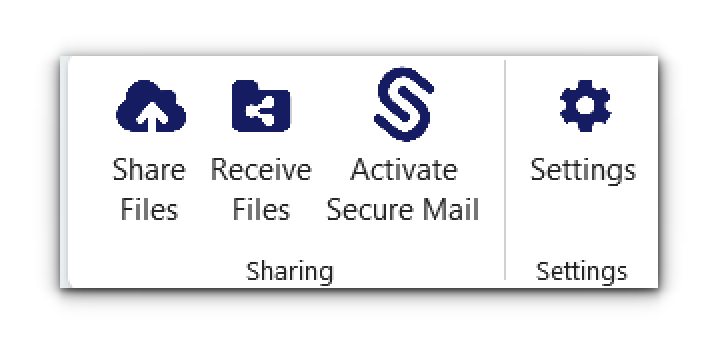
Icon: You can customize the "Icon" colour settings to change the appearance of icons in the Outlook ribbon.
Task Pane: By customizing the colour settings that contain the prefix "Taskpane," the appearance of the relevant task pane (Activity Tracker or Secure Mail) will be altered when a user is composing or viewing a sent email.


