How to Connect Sendent With Nextcloud
To start using Sendent, you need to connect your Outlook application with Sendent. This connection process is required only once per Outlook installation where you want to use Sendent. Follow the steps below to connect Sendent on different platforms.
Follow the steps below to connect Sendent on different platforms.
Overview
You can jump to the right section based on your Outlook version:
Outlook for Web
After installing the add-in, open Outlook for Cross-Platform and compose a new email.
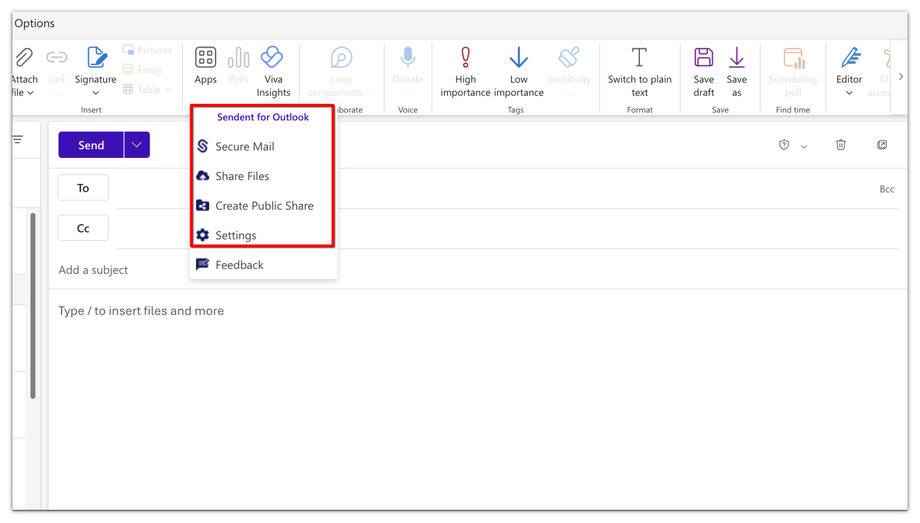
1. Click on any Sendent button except Feedback. This will open a new Wizard window on the right side.
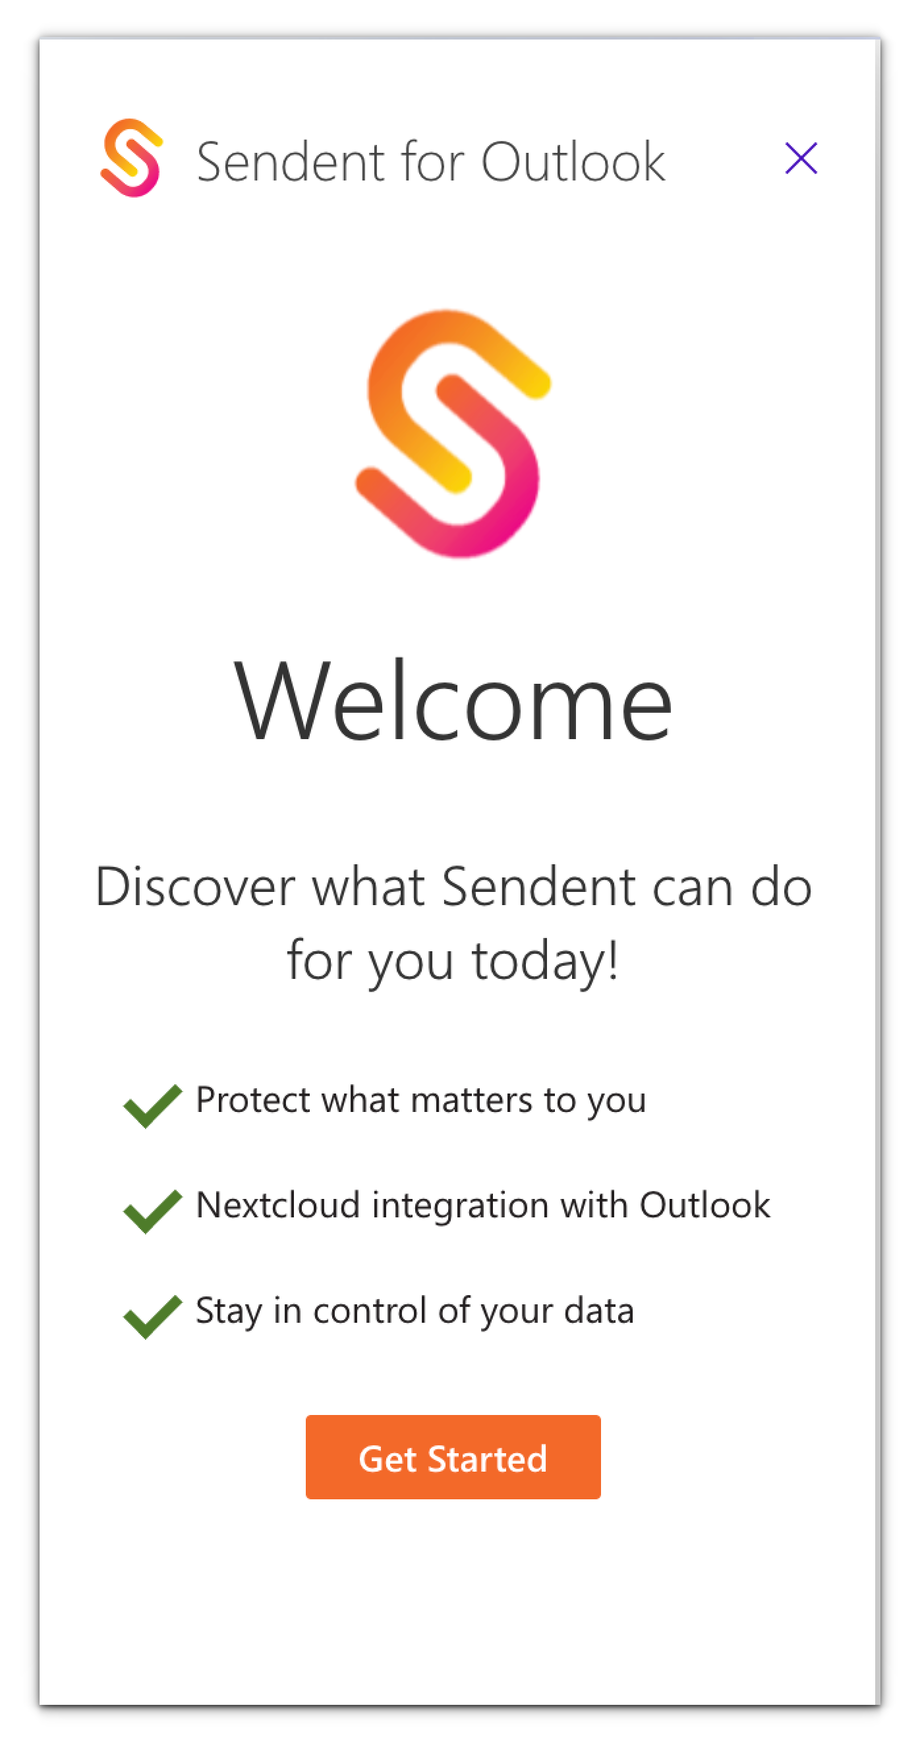
2. Click the Get Started button to start.
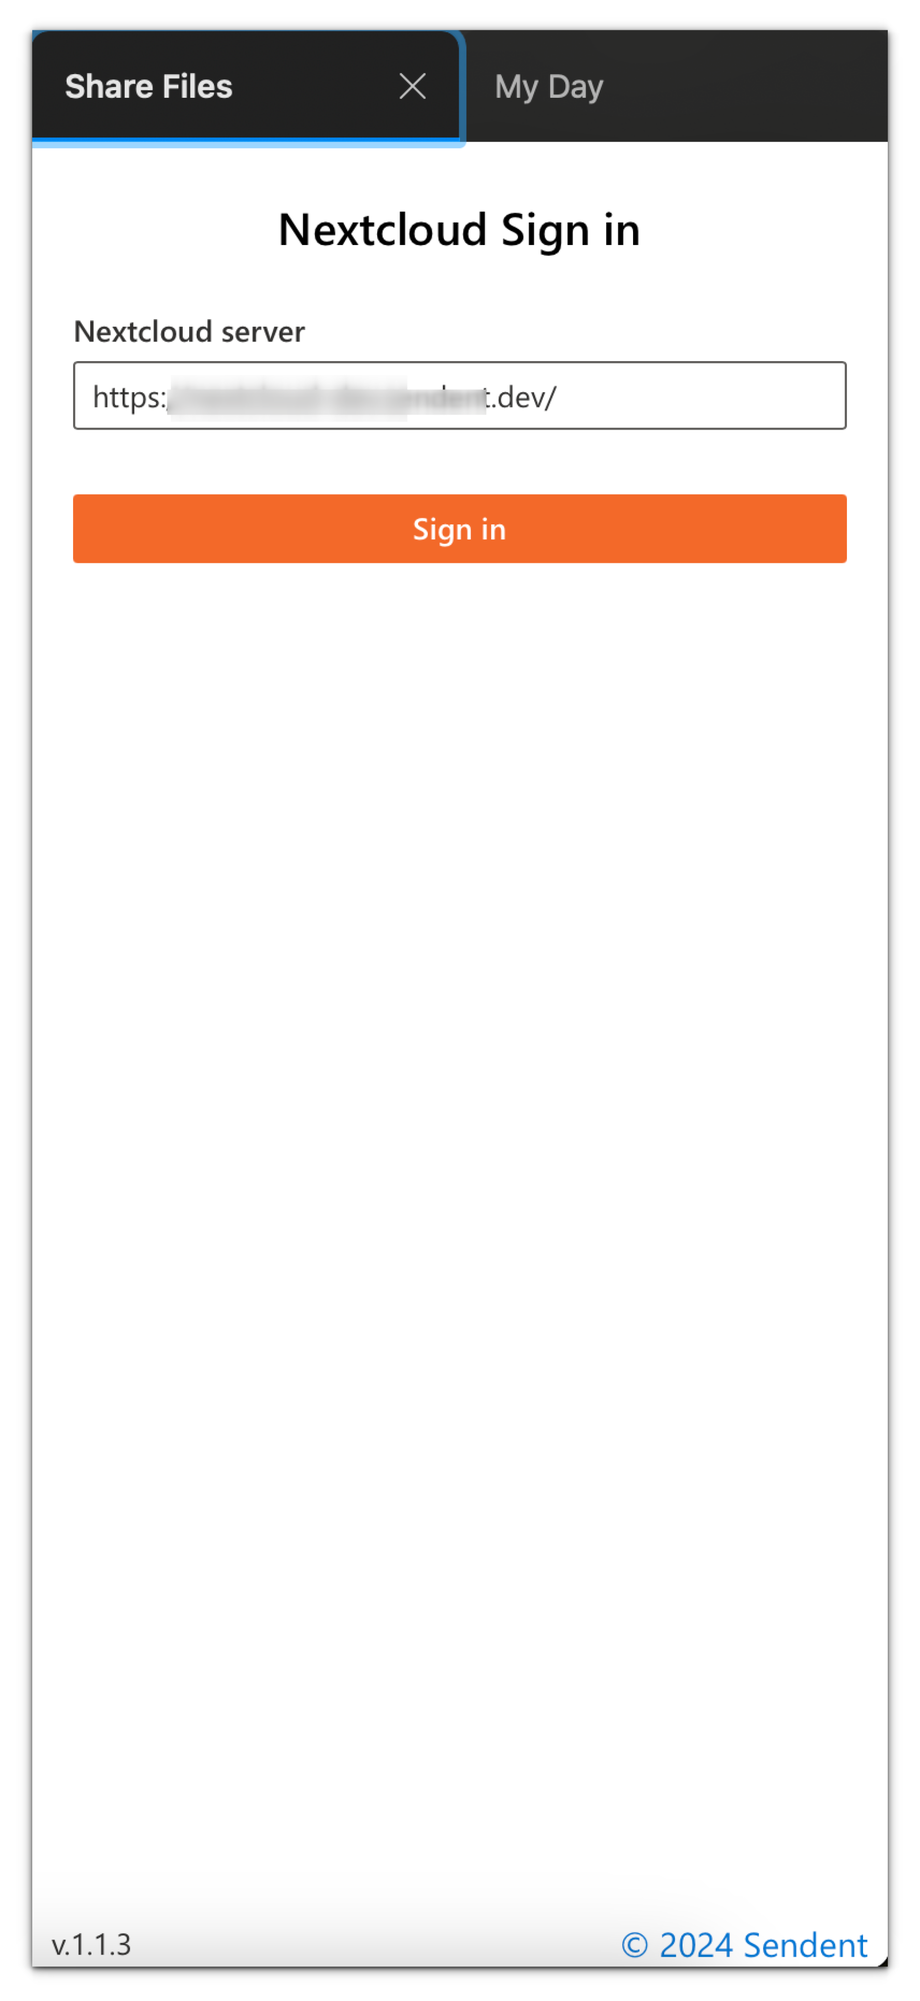
3. Enter your Nextcloud server URL in the dialog, and click Sign in button once done. Please note that in some cases, your admin might have preconfigured the Nextcloud server URL. If that's the case, simply click the Sign in button.
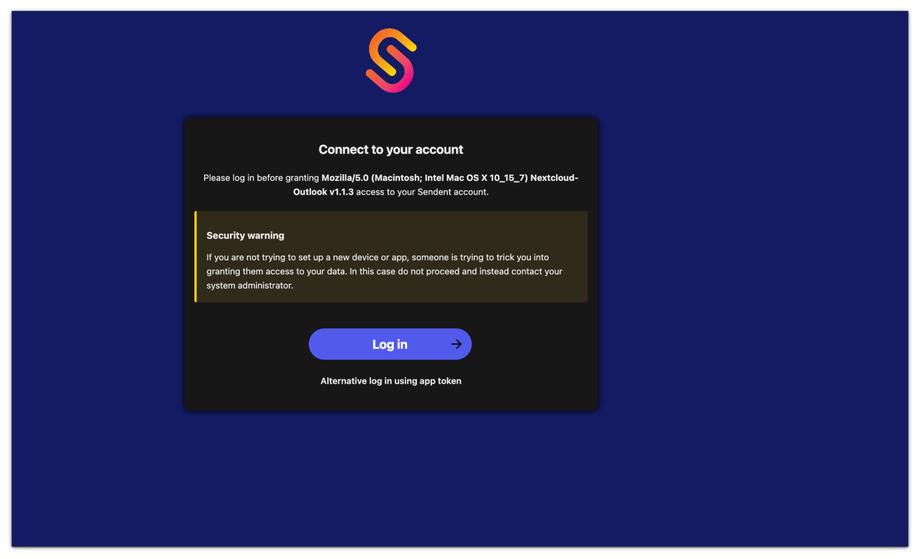
4. A page will open in your browser, prompting you to authenticate your Nextcloud account.
5. Click the Login button.
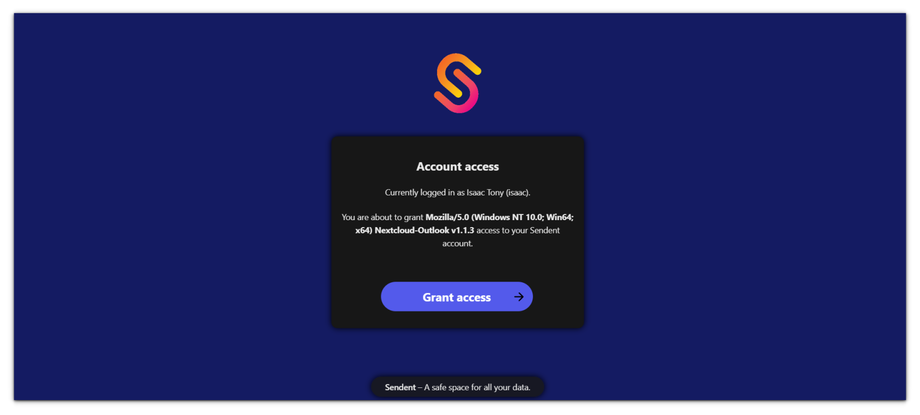
6. Click the Grant Access button to allow Sendent to access your Nextcloud server
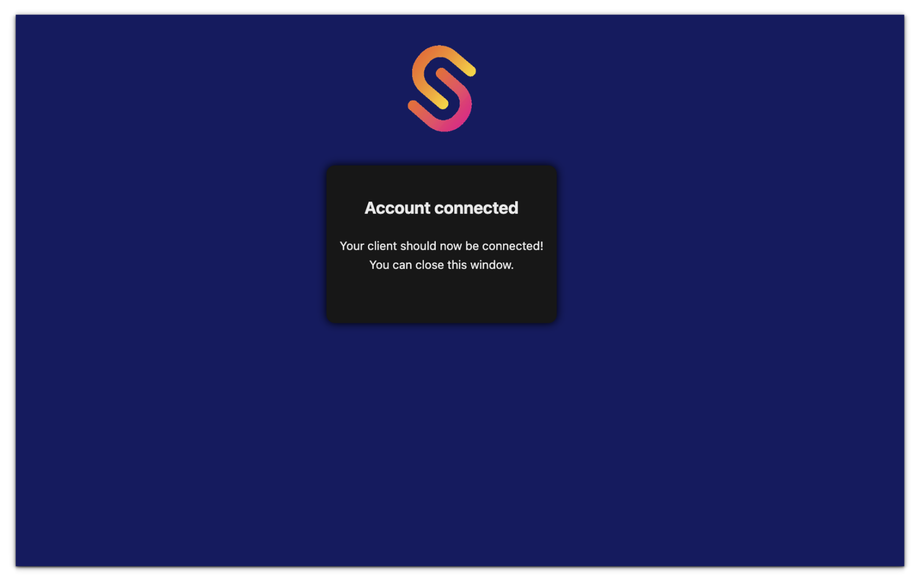
7. You can now close this window. You are now ready to use Sendent!
8. Once connected to Outlook for Cross-Platform, you do not need to repeat this process on Outlook for Windows or MacOS.
Outlook for Windows
1. After installing the add-in, open Outlook for Windows and click the New email button to compose a New Email:
2. Click on any Sendent button except "Feedback". This will open a new Wizard window on the right side.
A page will open in your browser, prompting you to authenticate your Nextcloud account.
3. Click the Login button.
4. Click the Grant Access button to allow Sendent to access your Nextcloud server.
5. You can now close this window. You are now ready to use Sendent on your Windows laptop !
6. You are now ready to use Sendent! Once connected to Outlook for Windows, you do not need to repeat this process on Outlook for Cross-Platform or MacOS.
Outlook for Mac
1. After installing the add-in, open Outlook for Mac and compose a new email.
2. Click on any Sendent button except "Feedback". This will open a new Wizard window on the right side.
3. Go through the Wizard, set your Nextcloud URL in the dialog, and click 'Sign in' once done. Please note that in some cases, your admin might have preconfigured the Nextcloud server URL. If that's the case, simply click the Sign in button.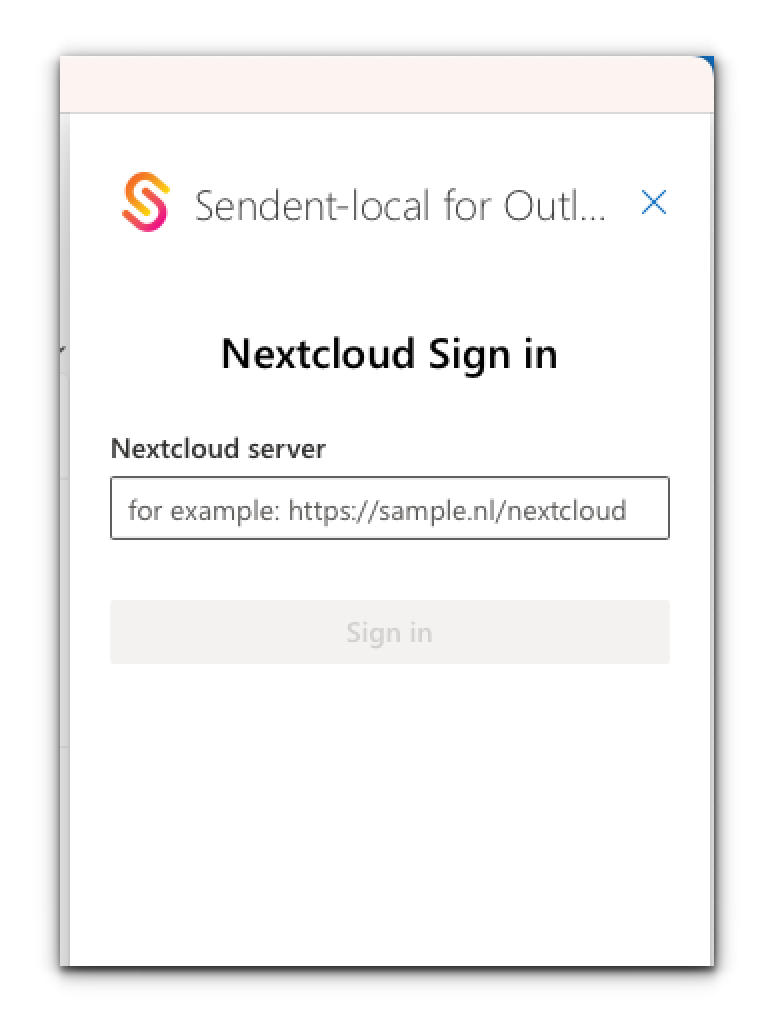
4. A page will open in your browser, prompting you to authenticate your Nextcloud account. Click the Grant Access button.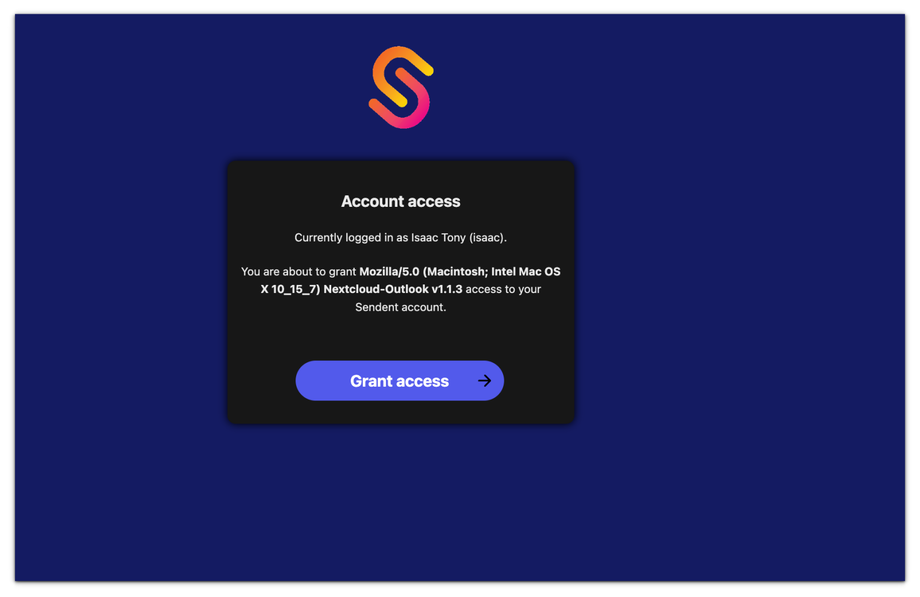
5. You can now close this window. You are now ready to use Sendent on your MacBook!