

How to Create a Public Share Folder in Thunderbird
A Public Share Folder is a folder in your Nextcloud that recipients can upload files to. Use it when you need to receive files, for example documents from a client.
Create a new email and enter the recipients and a subject.
Click the Nextcloud button at the top right of the compose window, then click Public Share Folder.
Check the Folder Name. It is filled in from the email subject, or Shared Folder if the subject is empty. A unique ID is added to the name, so you can reuse names.
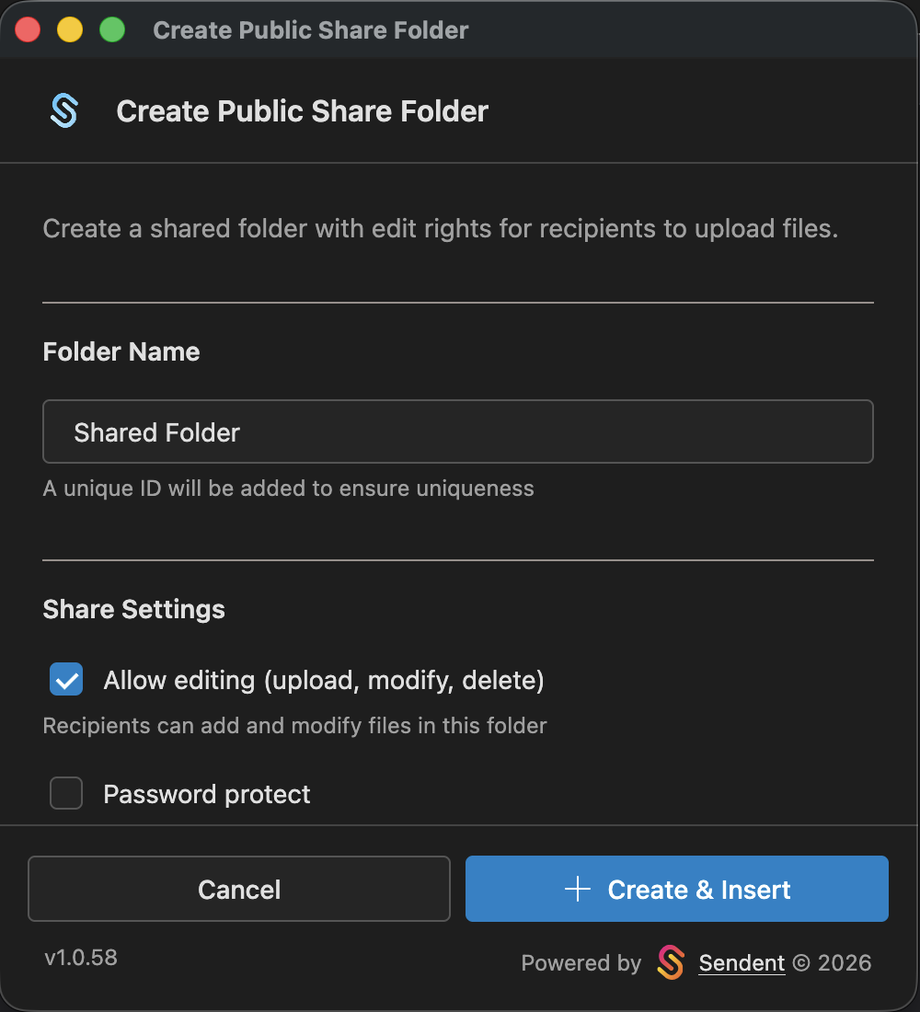
Under Share Settings, choose what recipients may do:
Allow editing: recipients can also rename and delete files in the folder, not just upload.
Password protect: type a password, or click Generate password.
Set expiration date: the link stops working after the date in Expires on.
Click Create & Insert. The folder is created in your Nextcloud and the link is added to your email.
Click Send.
Recipients open the link in their browser and upload their files. You find the folder, with everything they uploaded, under Thunderbird/Shares in your Nextcloud.
Your administrator can require a password or an expiration date. In that case the option is already ticked and you see a message that it is required by server policy.