How to Share a Public Folder Link for File Uploads to Nextcloud
The create public share feature allows users to share a link with recipients, enabling them to upload files directly to the user's private Nextcloud Server.
By providing a simple and secure way to receive files, you can streamline collaboration and data collection without needing to grant broader access to their server. This ensures that the file-sharing process is both efficient and secure, catering to various use cases such as collecting documents, images, or any other files from external parties.
1. Click on the "New Email" button in the Outlook interface.
2. Enter the email address of the recipient(s) and an appropriate subject.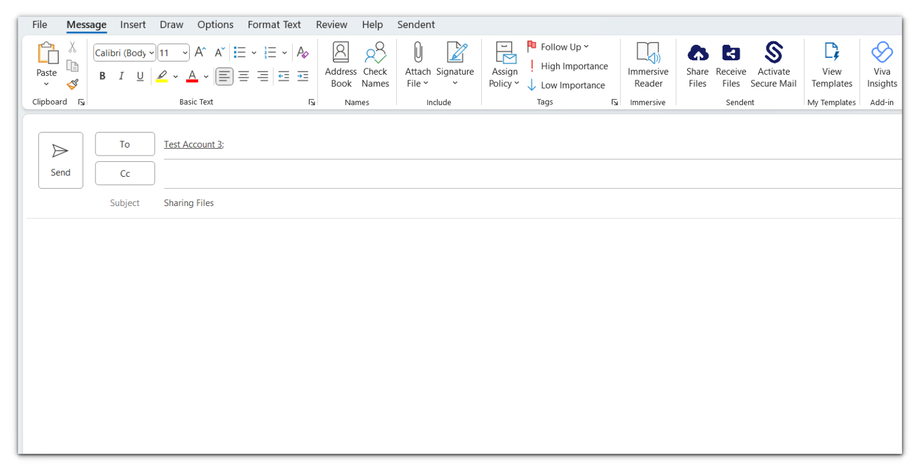
3. Click the "Receive Files" button. This button is under the “Message” or “Sendent” tab.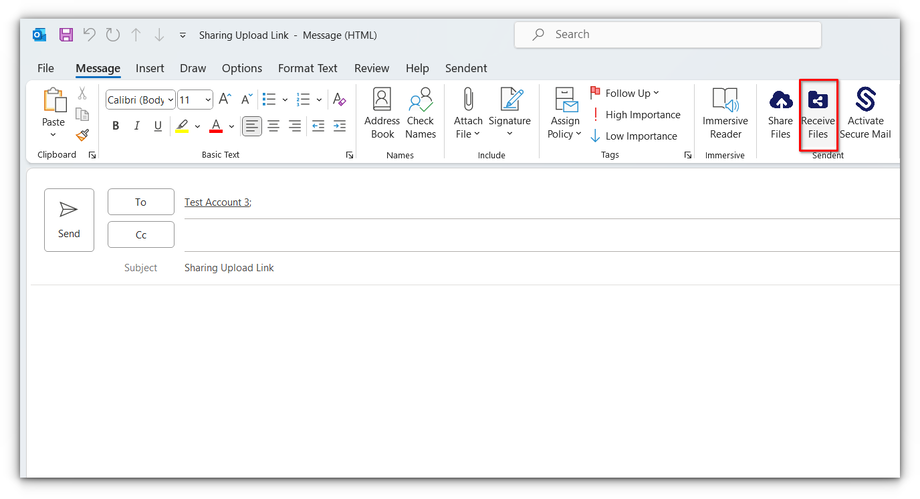
4. Once you click the Receive Files button, a new dialog will appear.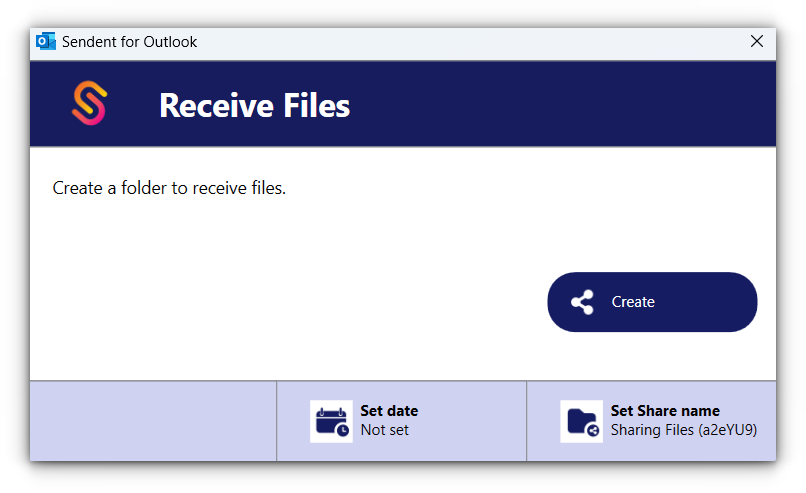
Set a Password (Optional). You can set a password by entering one or clicking the "Generate" button for a new password.
Please note that a password is not mandatory unless the administrator has enforced a password policy. If a mandatory password is required and not set, a notification dialog will appear.
8. Set an Expiration Date (Optional).
An expiration date is not mandatory unless the administrator has enforced a policy for it.
9. Adjust Share Name: Customize the share name for your recipient if needed or use the default one.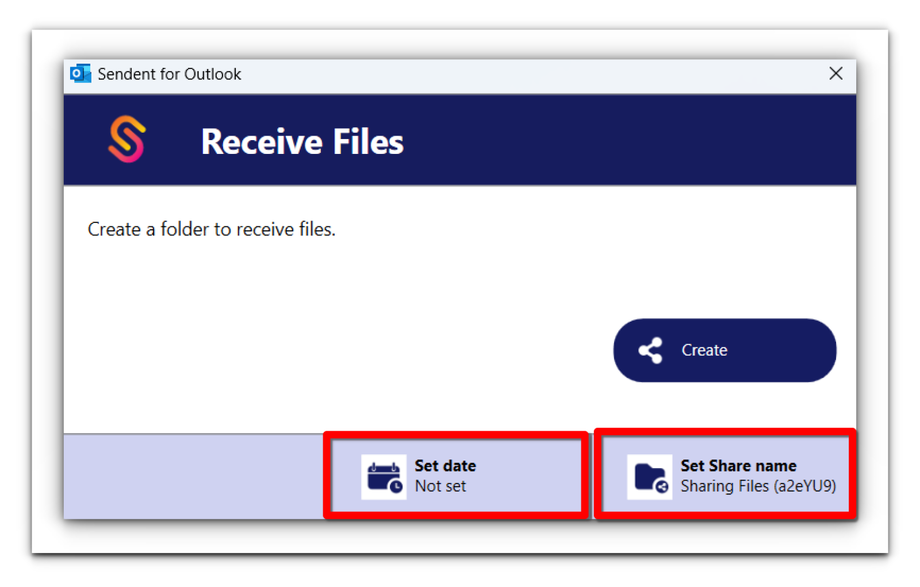
10. Click the "Create" button to create the share link.
After a successful upload, you will be redirected back to the email compose page.
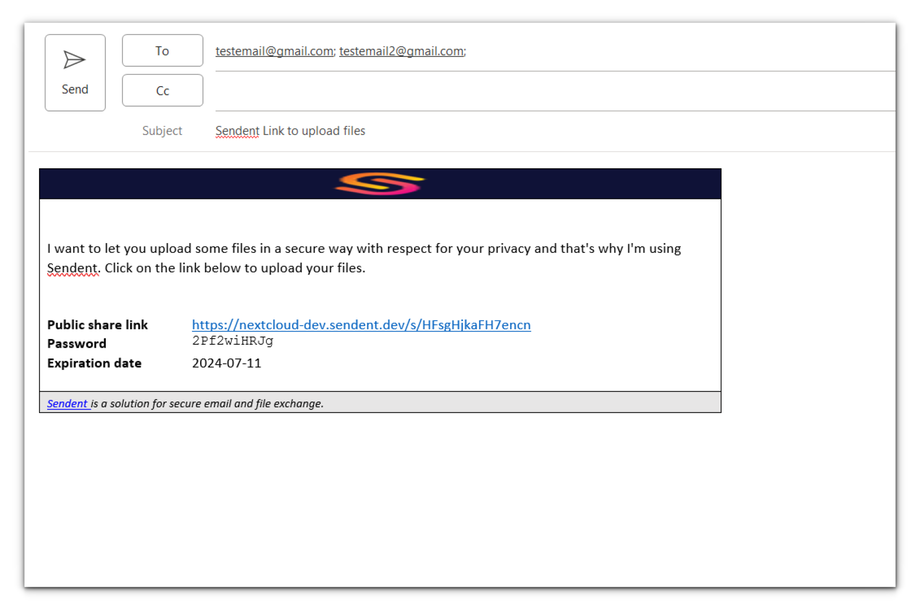
An email template will be inserted containing the public share link and, if applicable, the password and expiration date.
11. Click the Send button.
Your recipients will now be able to upload files directly to your Nextcloud server using the provided public share link.


