How to Use Sendent to Securely Share Files and Folders
The Share Files feature enables users to upload attachments to their private Nextcloud server, either manually or automatically, without any size limitations. This feature ensures seamless and efficient file sharing by allowing users to manage large attachments effortlessly.
By leveraging their private Nextcloud server, users can maintain control over their data, ensuring both security and privacy. This feature is particularly useful for sharing large files that typically exceed email size limits, enhancing collaboration and productivity.
Here is how you can make use of this feature:
1. Click on the "New Email" button in the Outlook interface.
2. Enter the email address of the recipient(s) and an appropriate subject.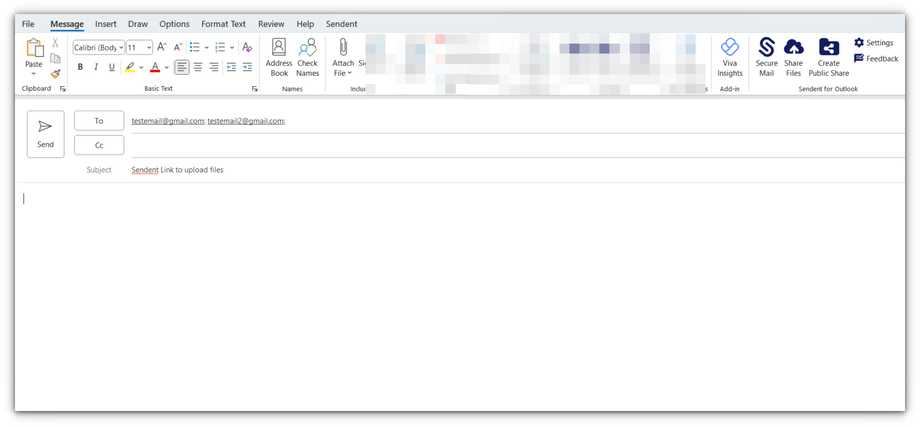
3. Click the "Create Public Share" button. This button is located under the “Message” tab.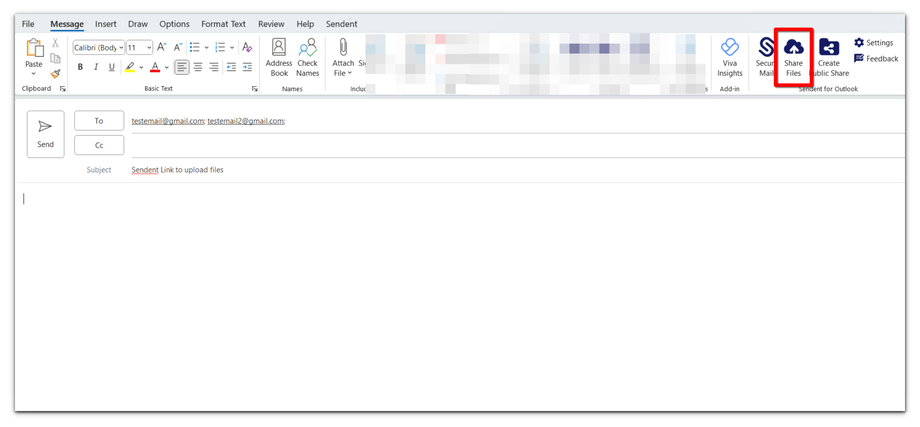
4. Once you click the Share Files button, a new Sedent for Outlook window should pop up.
5. Set a Password (Optional). You can set a password by entering one or clicking the "Generate" button for a new password.
Please note that a password is not mandatory unless the administrator has enforced a password policy. If a mandatory password is required and not set, a notification window will appear.
6. Otherwise, click the Save button to use the one already generated.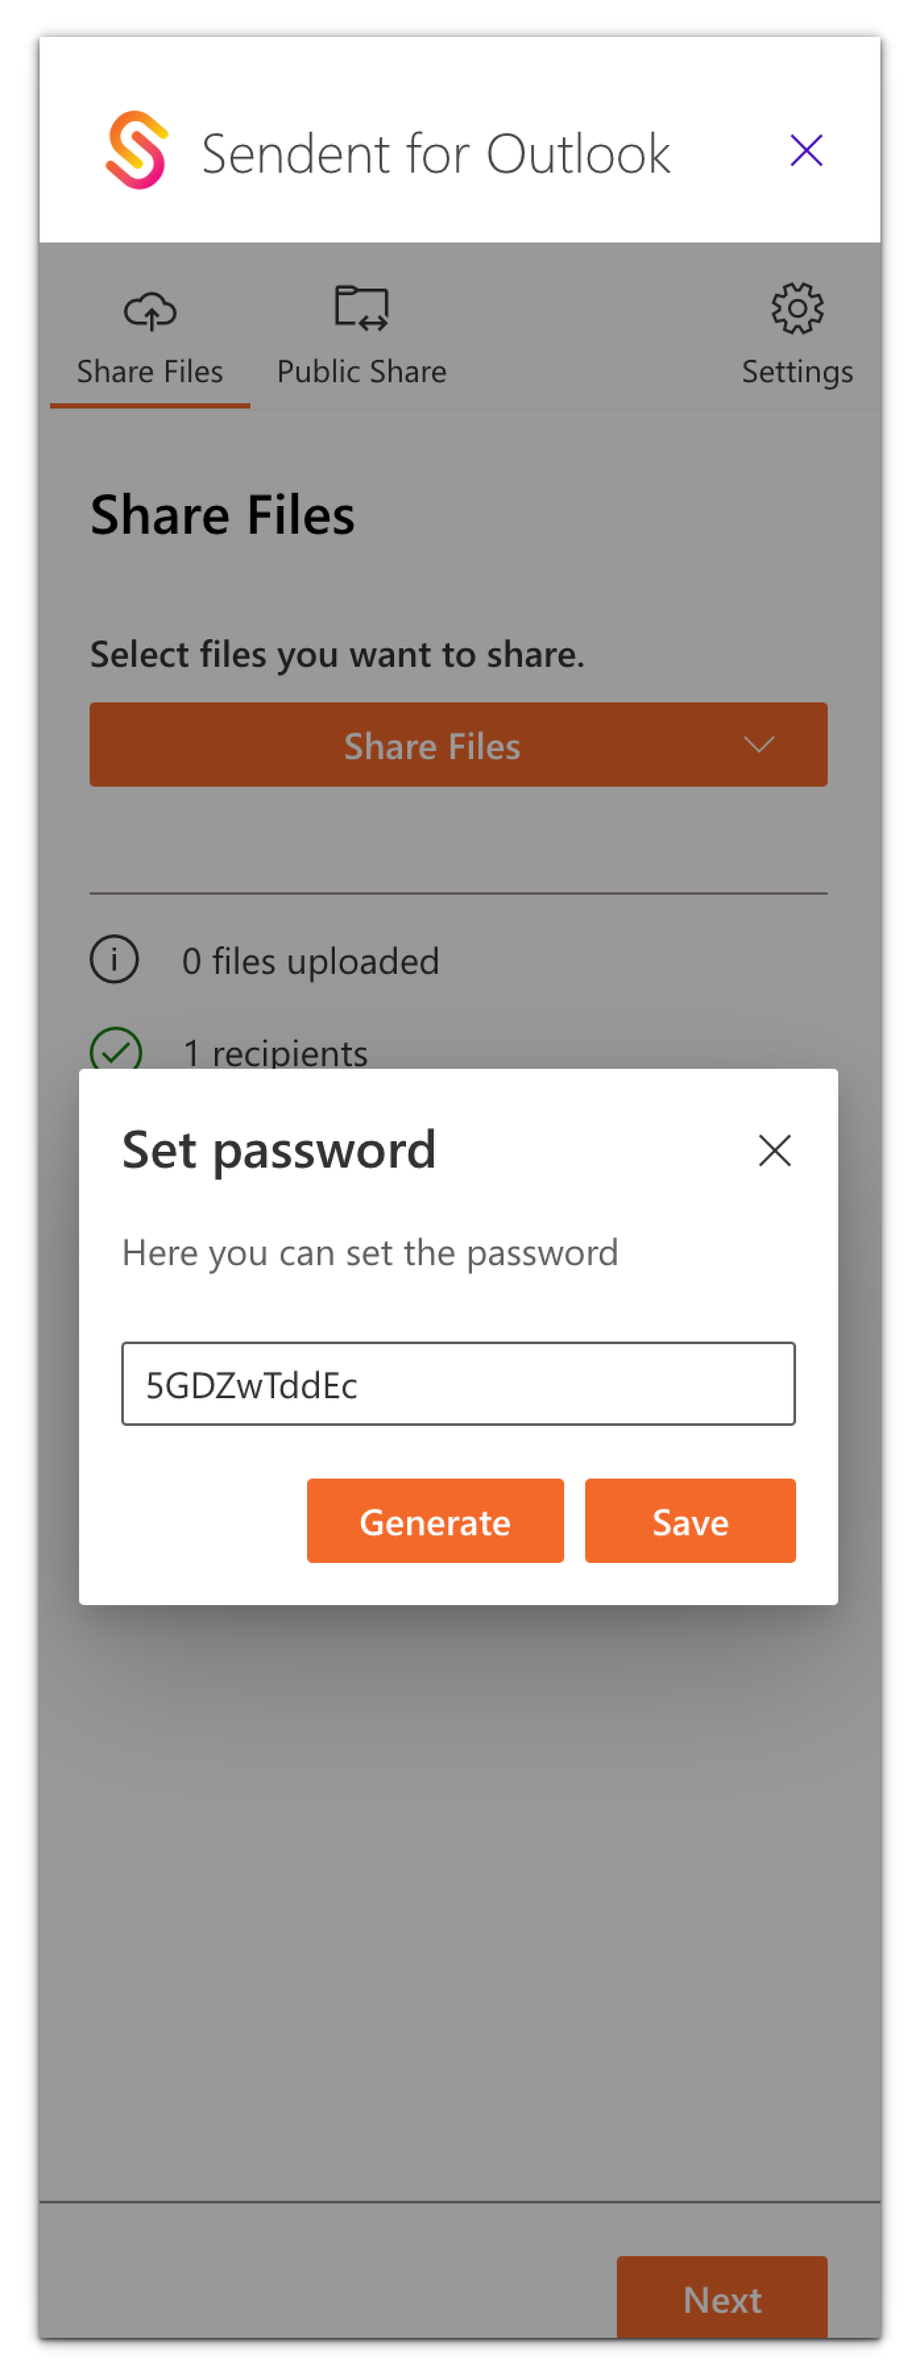
7. Click the Share Files button and choose whether you want to upload local files on your laptop/pc, files that are already on your Nextcloud server, or folders that are already on your Nextcloud server.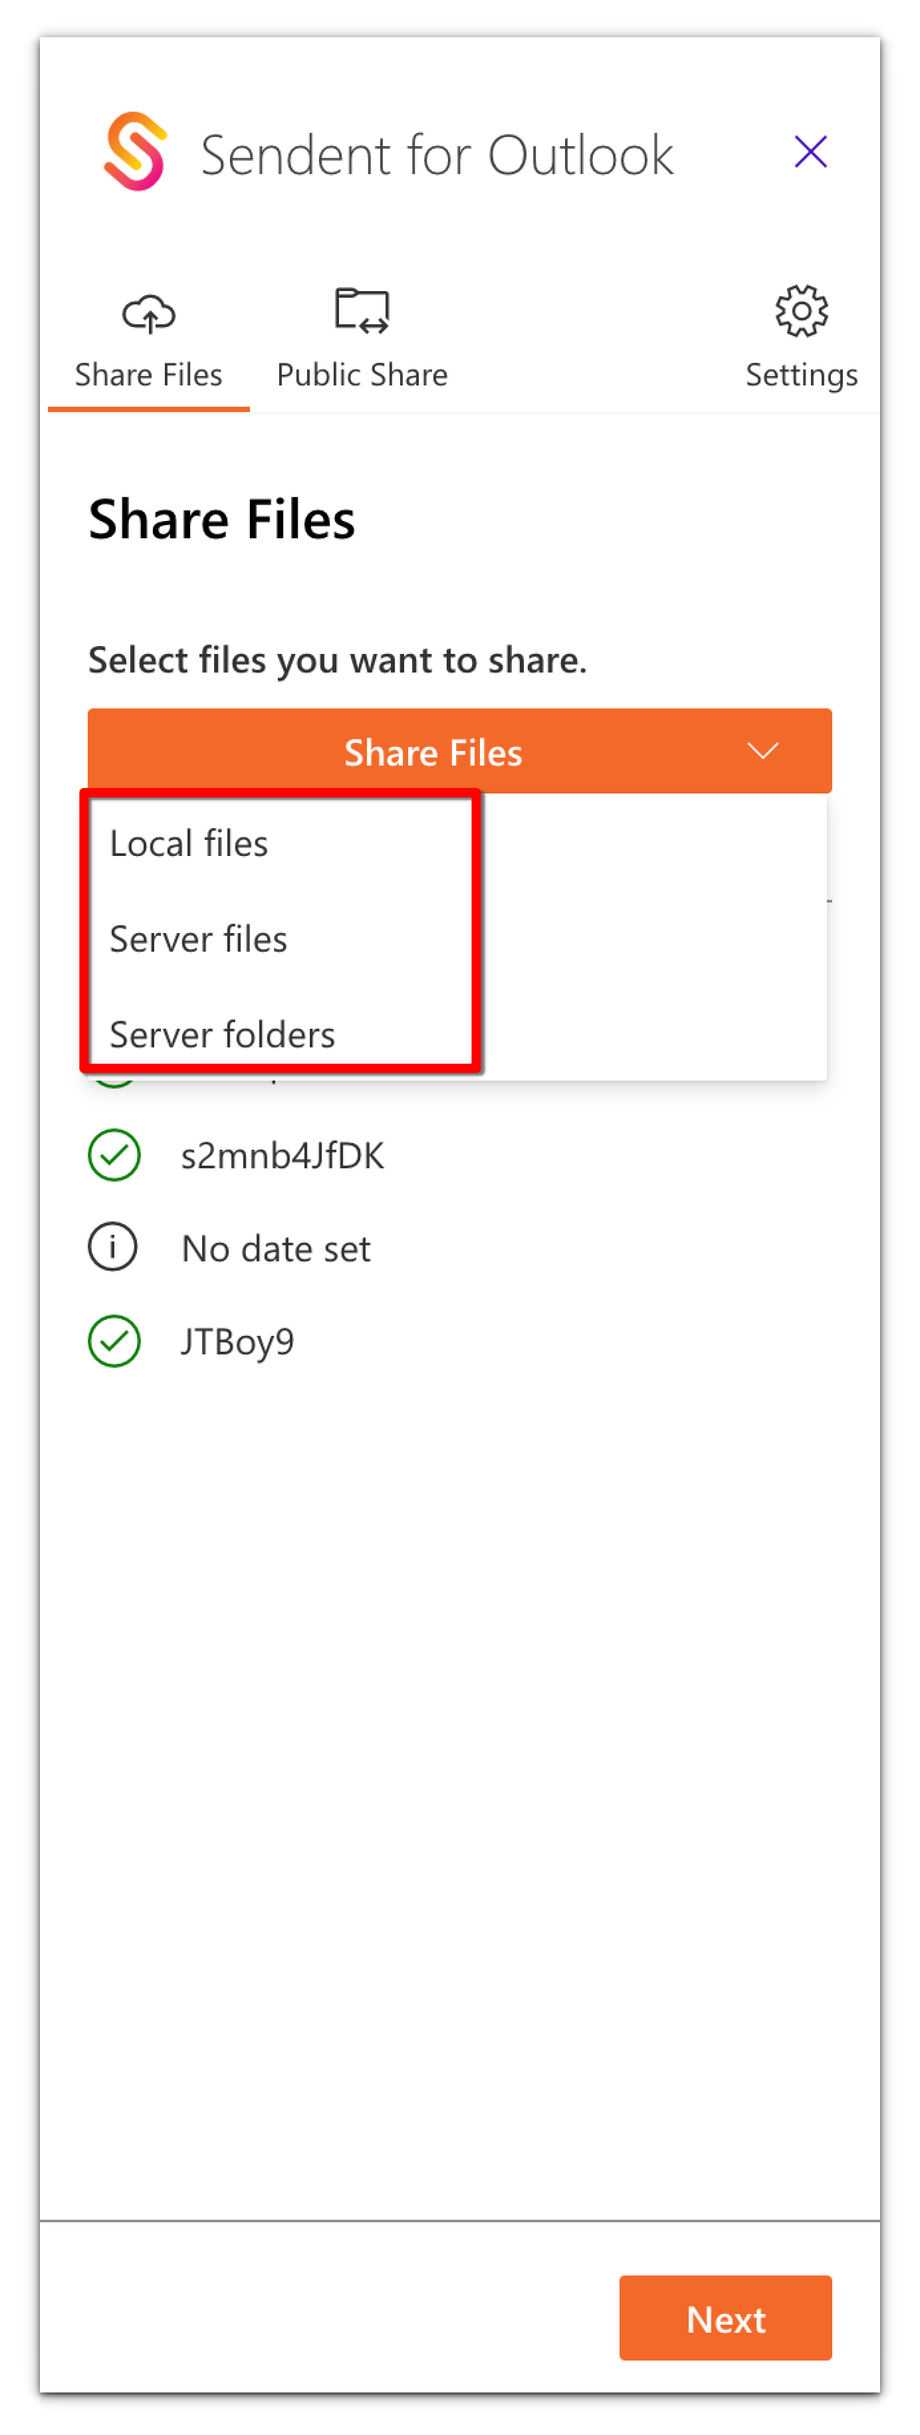
8. Once you have selected the files, click the Next button.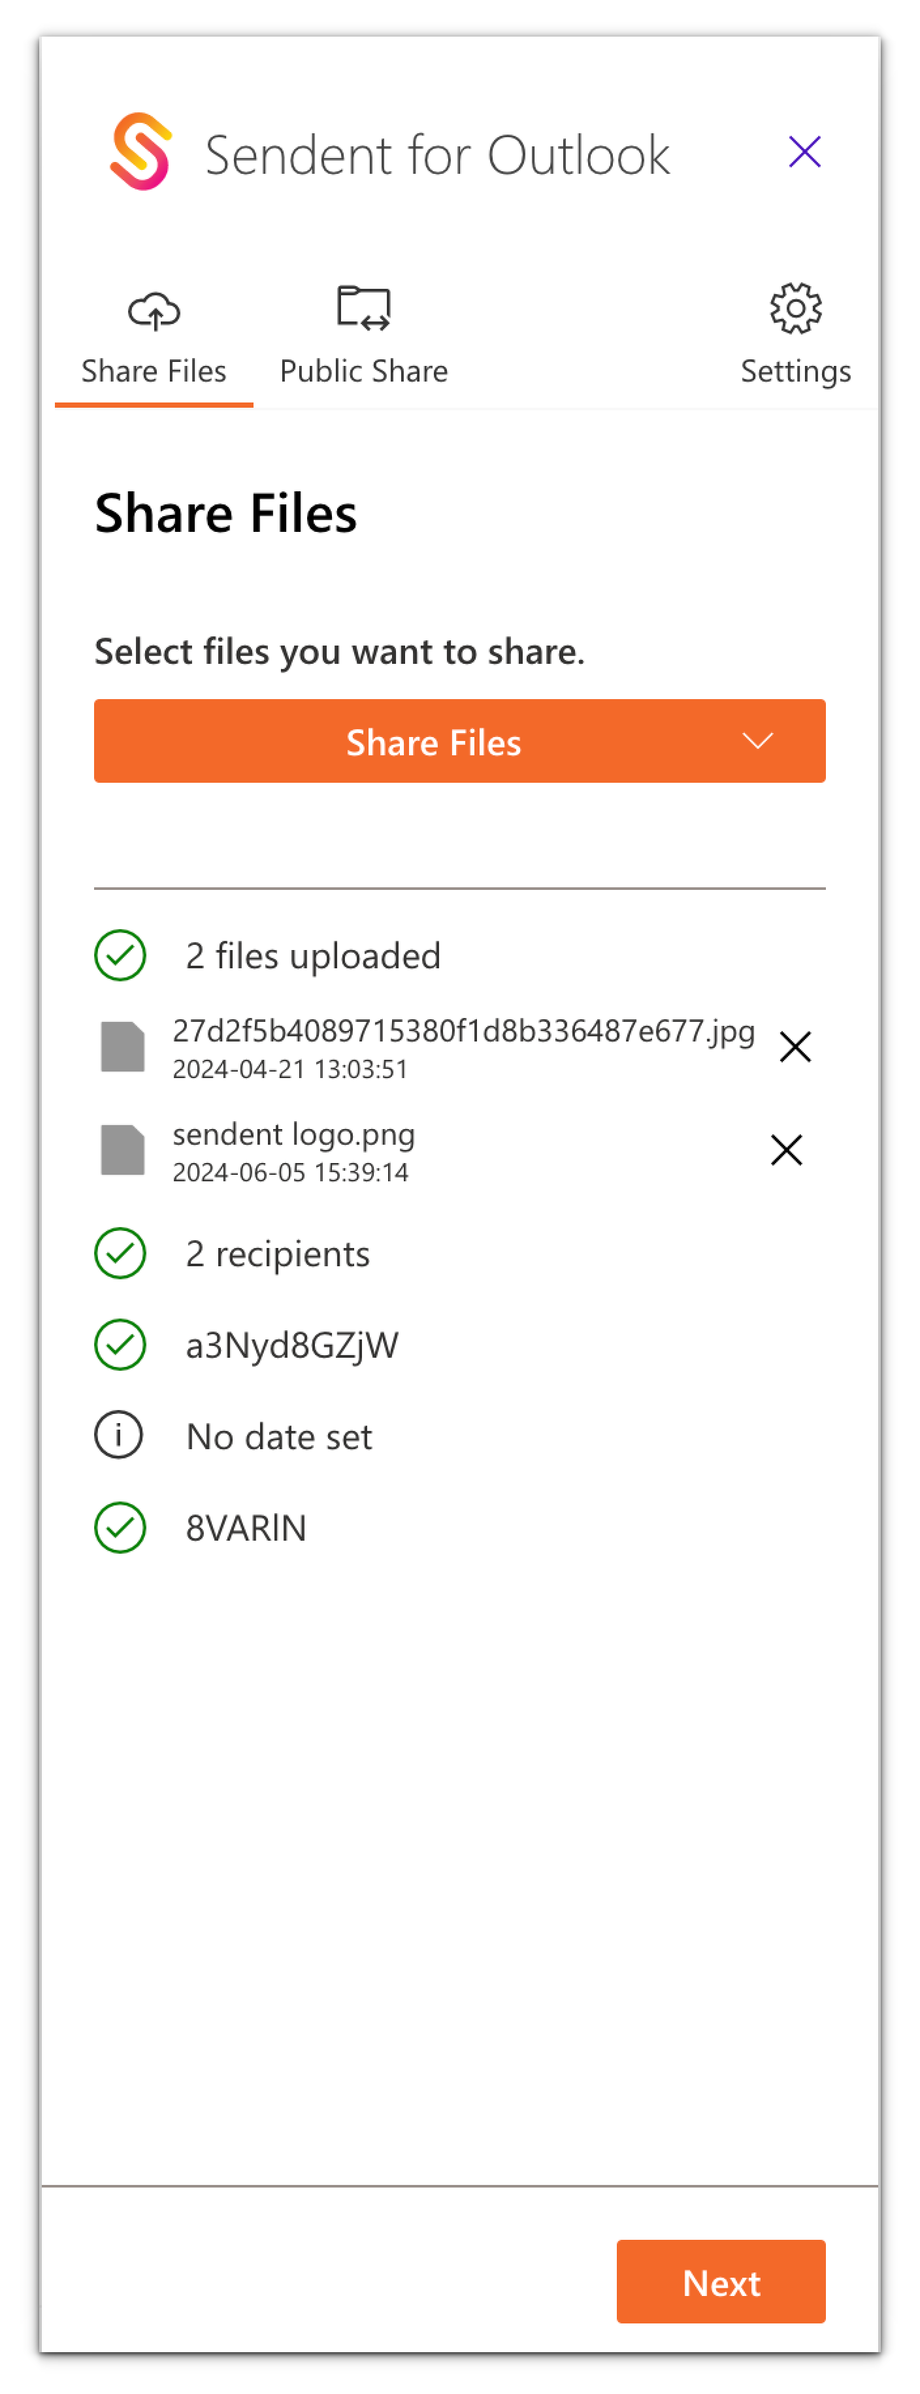
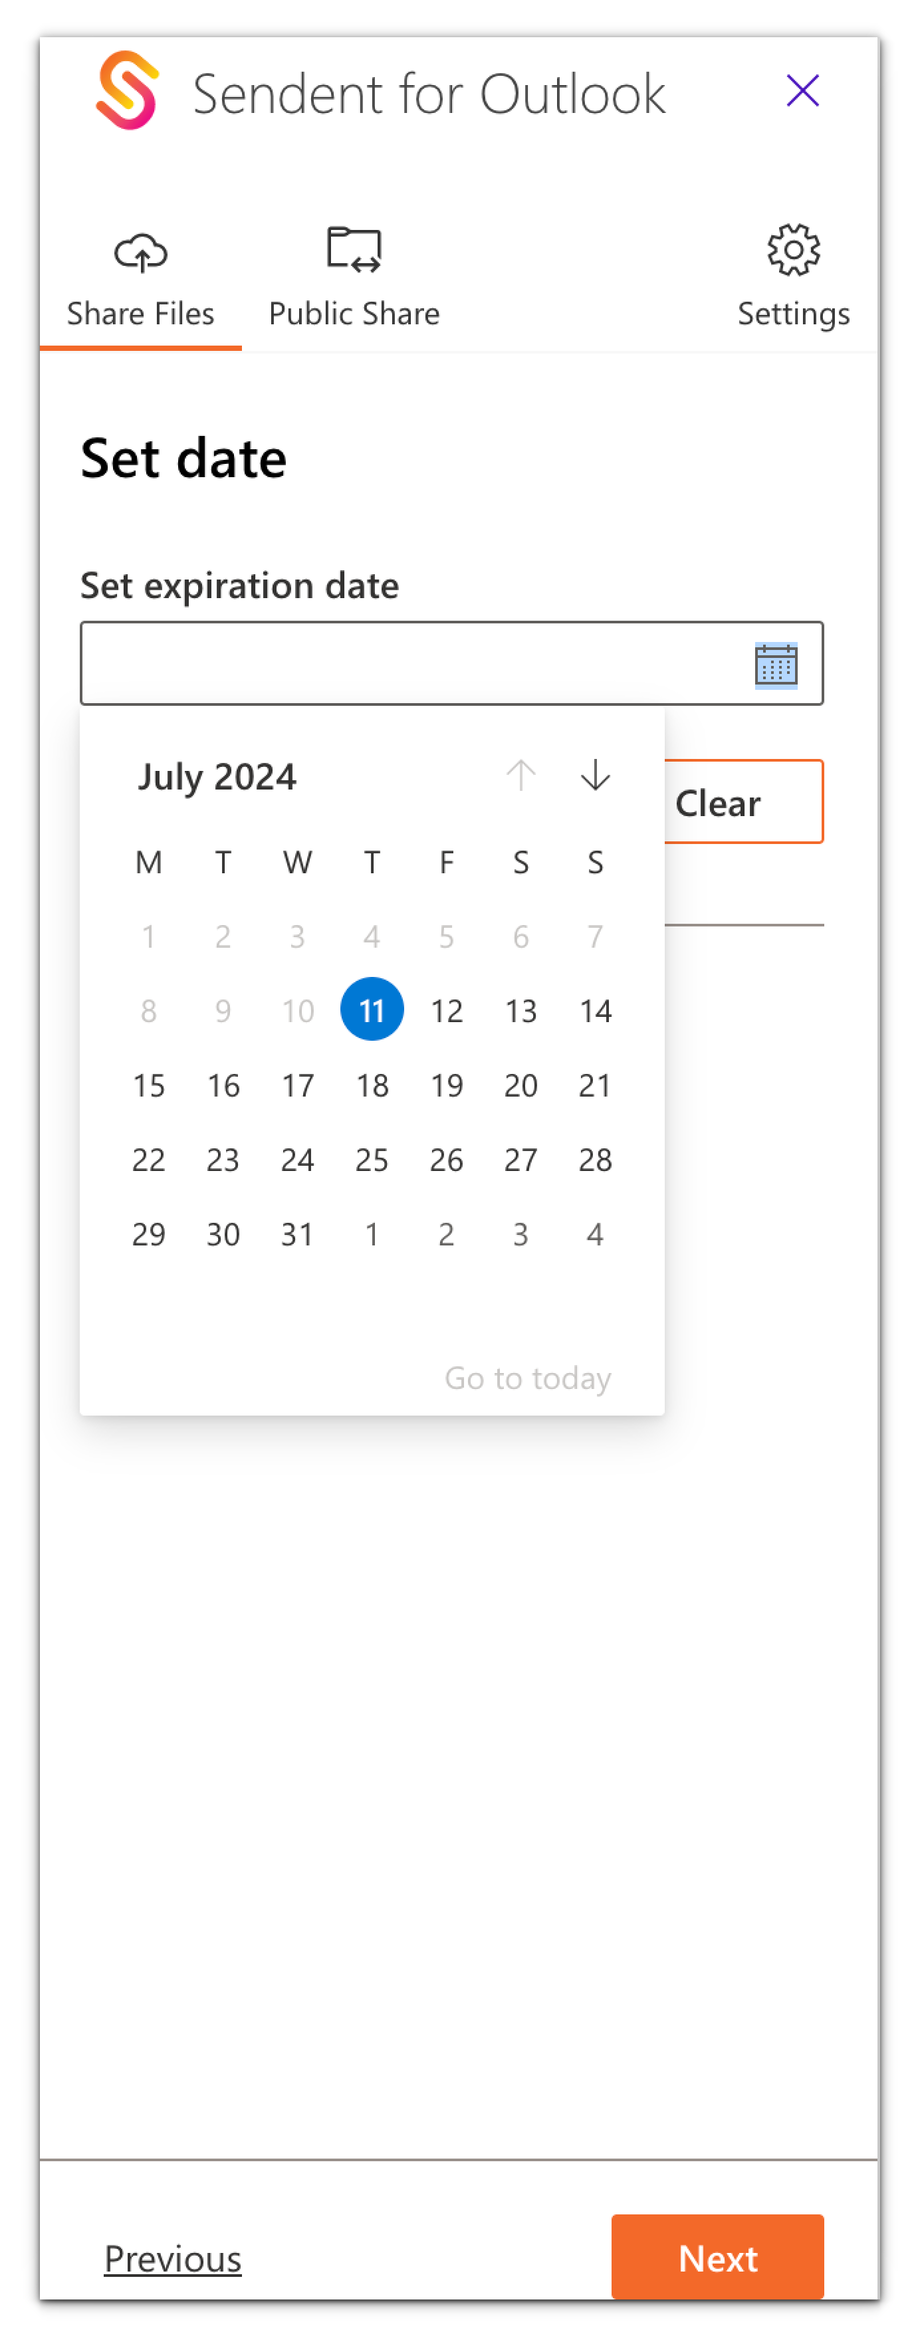
9. Set an Expiration Date and click the Next button.
10. If the guest account feature is enabled, you'll also have the option to choose the recipients. You can also click the Edit button to edit the recipients.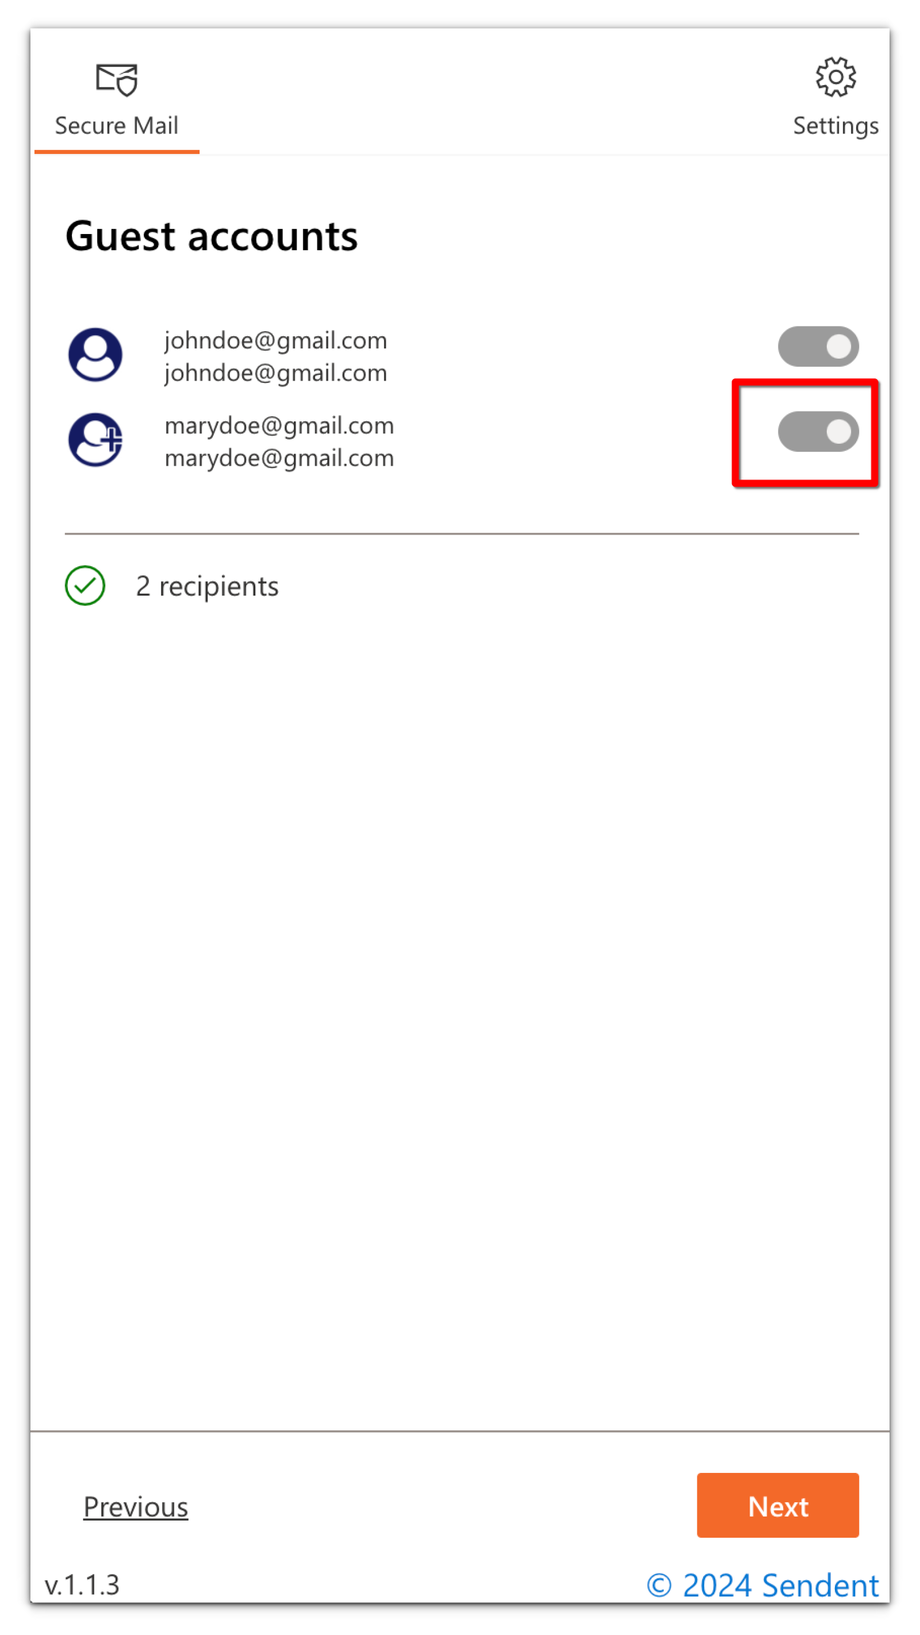 11. After a successful upload, you will be redirected back to the email compose page.
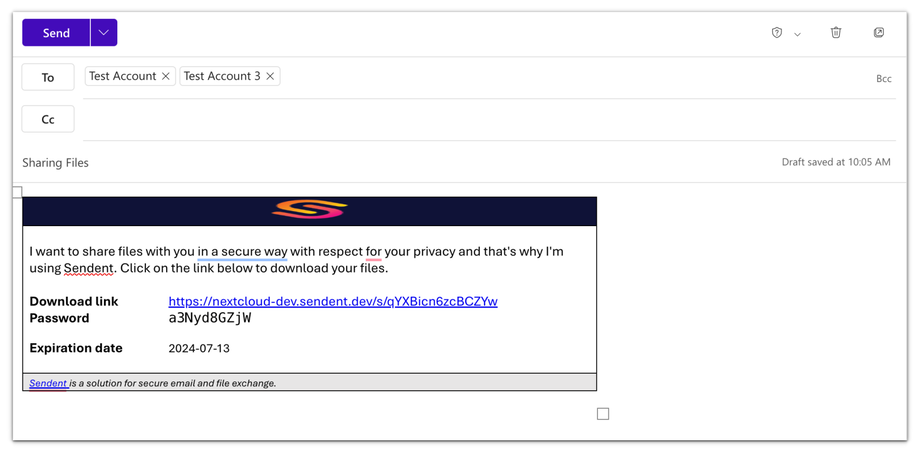
An email template will be inserted containing the download link and, if applicable, the password and expiration date.


